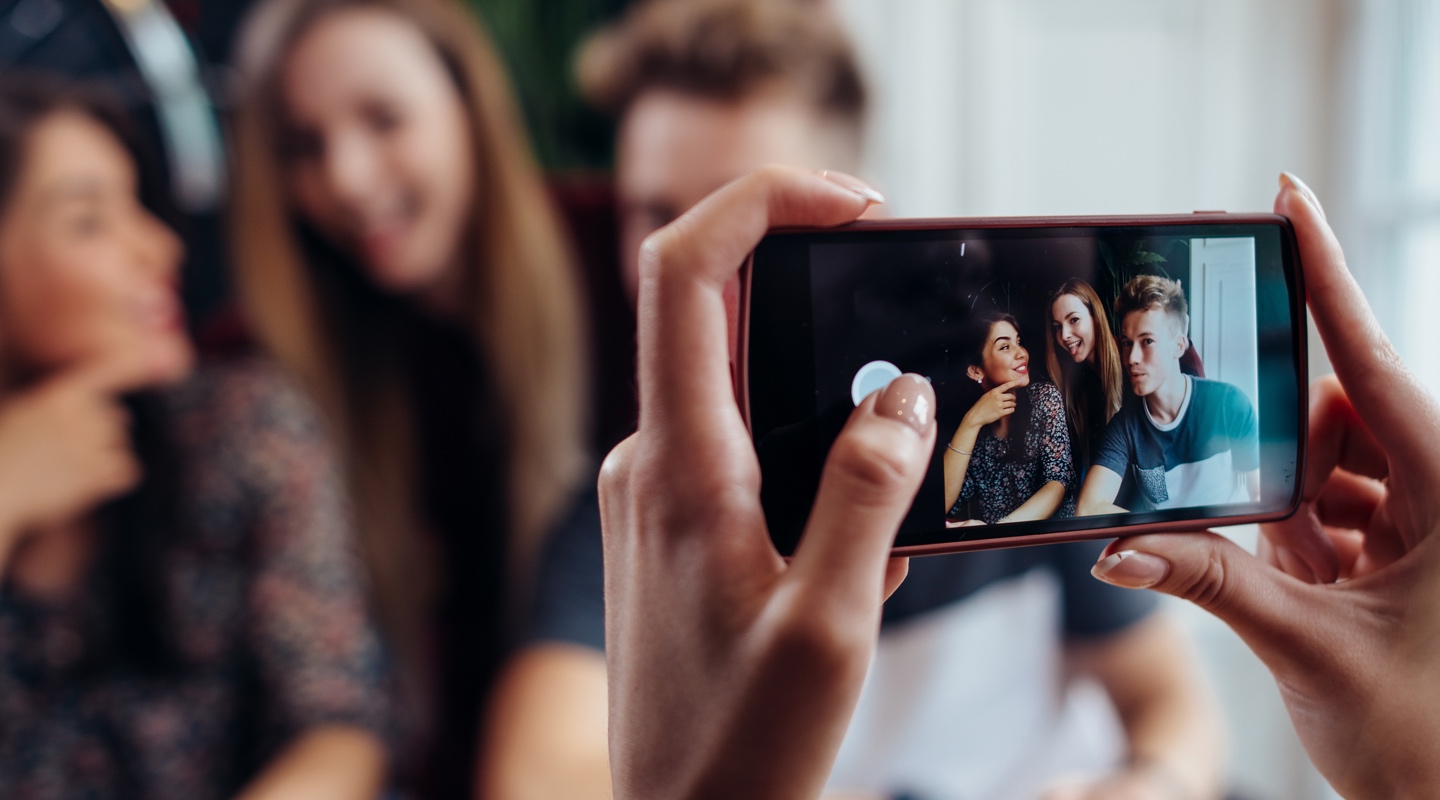
If your new handset has a background-blurring Portrait Mode built in, here's how to take the best shots this side of a DSLR...

So, you’ve just picked up a top of the line smartphone – it might be the new iPhone XR or XS, a Google Pixel 3, or maybe a OnePlus 6T. Whatever the case, if it’s a recent flagship, the odds are pretty good that the inbuilt camera app boasts a background-blurring ‘Portrait Mode’.
But how does Portrait Mode work, and – more importantly – how can you use it to its fullest when out and about? Here’s our one-stop guide to taking breath taking portraits…
Take portraits like a pro
At a base level, what Portrait Modes on modern smartphones offer is an imitation of the ‘Bokeh’ effect that fully-fledged DSLR cameras provide, where the camera uses a shallow depth of field to blur everything behind the subject. To learn more, we caught up with professional photographer and iPhone XR owner, Ben Carpenter:
“As a professional photographer, I find using a shallow depth of field is important for achieving creative, striking images,” Ben tells us. “So it’s great that the Portrait Modes you’ll find on today’s smartphones allows you to achieve this ‘soft background focus’ effect in a super portable frame – using either a mixture of two rear lenses, 3D Mapping technology or clever AI software.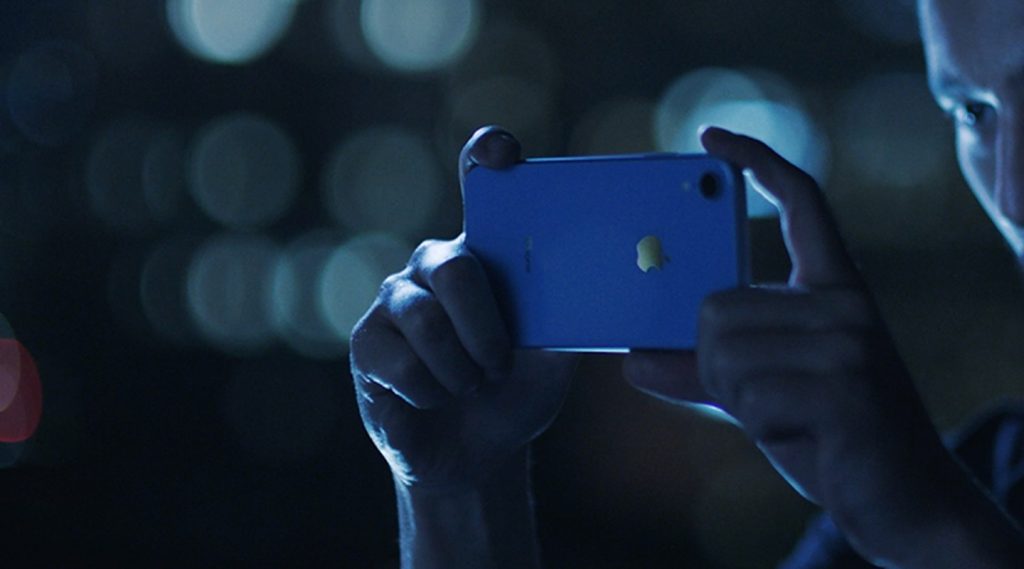
“Phones might not be able to replace high-end DSLRs in the professional space just yet, but the results you can get on these new devices are pretty remarkable all the same.”
And with that in mind, here are Ben’s five essential tips for making the most of this year’s hottest camera feature, whether you’re snapping someone else, or taking a selfie:
1. Use light to your advantage
“Lighting is obviously important in all kinds of photography,” Ben says, “but particularly if you’re photographing people, where shadows can be both your friend and enemy. Try positioning your subject with the sun behind them, as this will give them a warm ‘rim light’ (outline) glow, with no harsh light or shadows.
“Try positioning your subject with the sun behind them, as this will give them a warm ‘rim light’ (or outline) glow…”
“If you’re looking to get a really professional look, use a reflector (a piece of white card will do) to bounce the light back onto them. This’ll add flattering light to the face and a nice twinkle in the eyes.
“Play around with the exposure, too,” he adds. “Tap the subject to focus directly on them, and then hold and slide your finger to change the brightness. This is particularly important if the main light is behind your subject.”
2. Consider your framing
“Portrait Modes tend to work best when you’re close to your subject, so I’d avoid trying to get a full length shot; head and shoulders are perfect for the soft focus background effect. You should also try to position your subject away from the background,” Ben says. “Portrait Mode definitely works best when there is a bit of distance between the two.”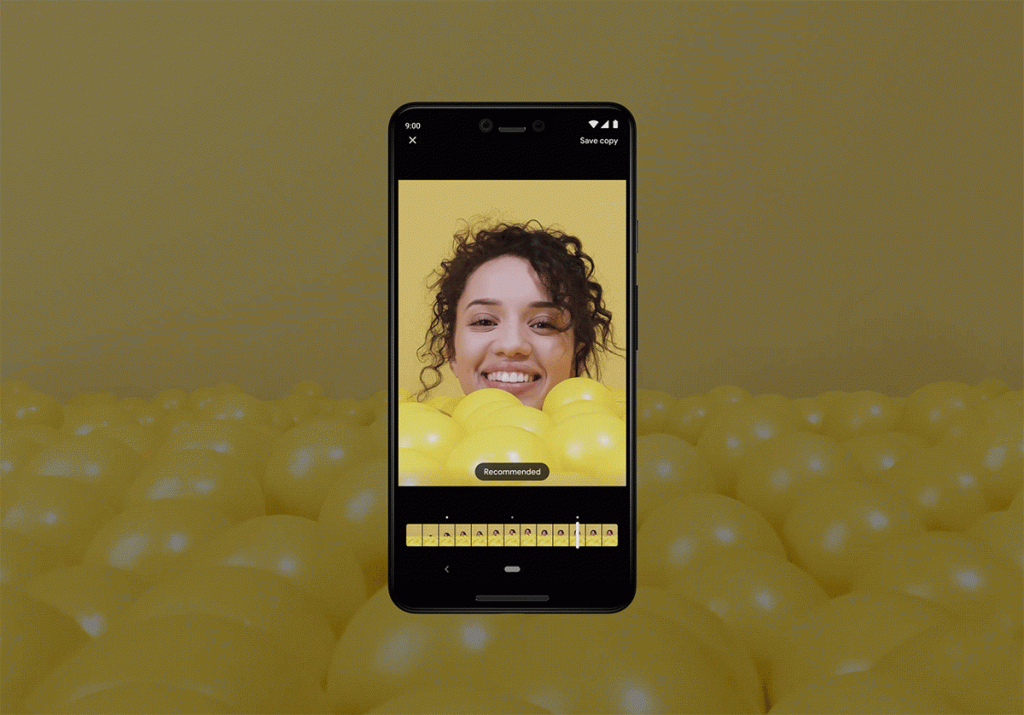
2. Watch out for hair and glasses
“Stray hairs can be a problem for the Portrait Mode effect, as random strands will often get blurred along with the background. The likes of Apple and Google have improved the software smarts for this quite dramatically for their recent phone generations, but all phones will get confused from time to time because they’re using software, rather than hardware, to produce the blur.
“That said, even the most skilled photographer can have difficulties in Photoshop trying to edit around individual hairs,” Ben explains, “so it’s not surprising that a phone will have a similar problem. The best advice here is just to check the shots as you go for any glitches, and watch out for glasses while you’re at it – some frames can get accidentally blurred out at specific angles.”
4. Try out your phone’s lighting modes
“Most Portrait Modes offer a range of lighting modes – on iPhone you have the choice of options like natural, studio and contour, for example. It’s worth noting that these aren’t just filters you apply in editing software though,” Ben says. “The technology actually analyses your subject’s facial details to recreate the kind of lighting effects you would get using a professional camera.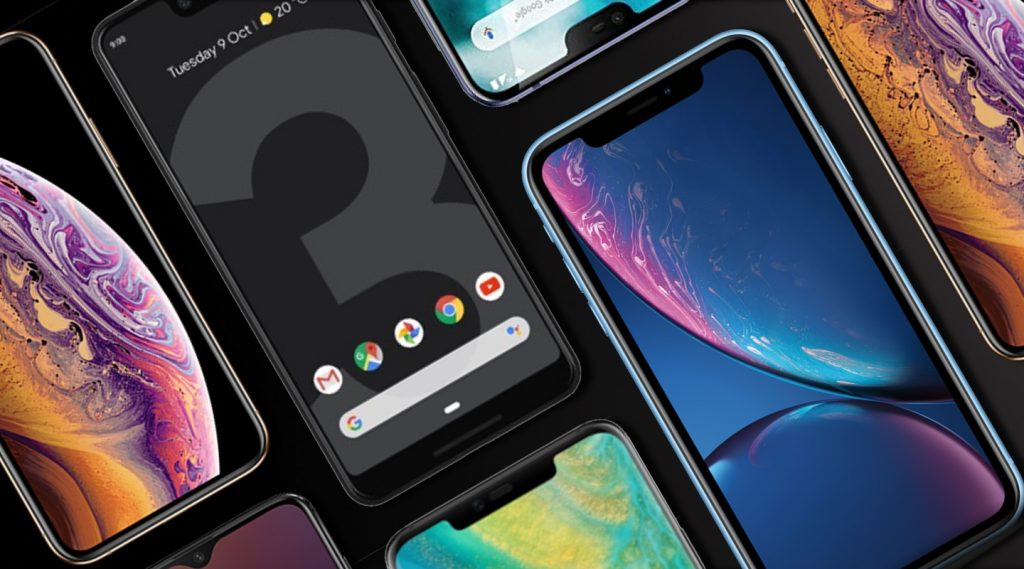
“I’ve found the results from these are surprisingly good. ‘Contour light’ [or your phone’s equivalent] can be particularly effective for creating some flattering shadows, but either way, the fact that you can play around with these modes after taking the shot frees you up to get creative in your own time.”
5. Plan ahead
“I know that with phone photography most shots tend to be spontaneous, but if you have time plan things, it’s usually worth thinking about when would be best time in the day to get that perfect shot. I use an app called Sun Surveyor,” Ben explains, “to view the sun direction and position in the sky.
“If you shoot during the golden hour (just after sunrise or before sunset), you’ll get soft, flattering light. Similarly, if you’re travelling, be sure to hit the popular tourist destinations early in the morning or later on in the day – when the tourists and the traffic have all moved on.”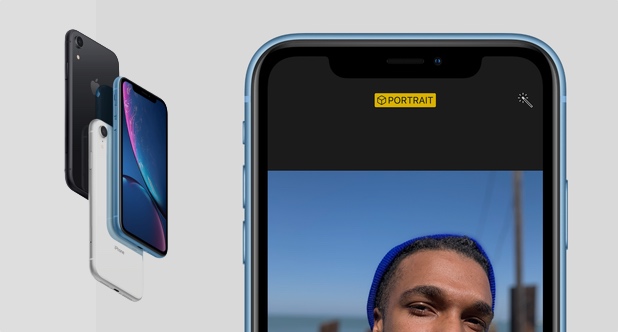
“And remember,” Ben says in closing, “like any kind of photography, it pays to experiment, play around, and work out what works best for you.”
You can keep up with Ben’s photography over at @Bencphoto on Instagram, or at bencarpenterphotography.com.

